
Aerobie, the company that invented the Aeropress, is not a coffee company by origin. Their first product was actually the Aerobie Pro – A flying disk. Alan Adler, the founder of the company, had invented many disk-like toys before he invented the Aeropress. Today, Aeropress is Aerobie’s #1 product and an extremely popular method of one cup brewing. The Aeropress produces an espresso strength coffee and as a result, has become known as the “poor man’s espresso.” Aeropress is a pretty easy brew and only takes around 10 minutes. What You Need Aeropress Tools Included Water Coffee Circular Filter Gooseneck Kettle Grinder Directions Amounts : 1 scoop coffee & 12 oz water 16 grams coffee & 355 grams water Ground : You’ll want one heaping Aeropress scoop of finely ground coffee to start – a #4 grind on industrial machines. Water : To prepare your water, bring it to a boil and then remove from heat. Never pour boiling water straight onto coffee grounds – it will scorch them and give your coffee a burnt flavor. Allow the water to cool for 30 seconds (the temperature should be between 195-205) before you proceed to the next step. Filter : Place the paper filter into the plastic filter, screw it onto the Aeropress and set it over your mug. From here, you can wet the filter with your hot water, to remove the papery taste and heat your press and mug. Dump out the water before proceeding. Bloom : Drop the grounds into the cylinder, and add just enough water to cover them. Let them bloom for 30 seconds before continuing. Adding Wate r: After the bloom, pour more hot water into the Aeropress, until the water level is just above the blue number 3. Final Steps : Use the paddle that comes with your press to give the grounds a stir for about 5 seconds, then place the plunger into the tube. From here, slowly press the coffee through the filter until you hear a hissing noise. Enjoy! - Add hot water for an americano, Steam milk for a latte, or drink it straight.
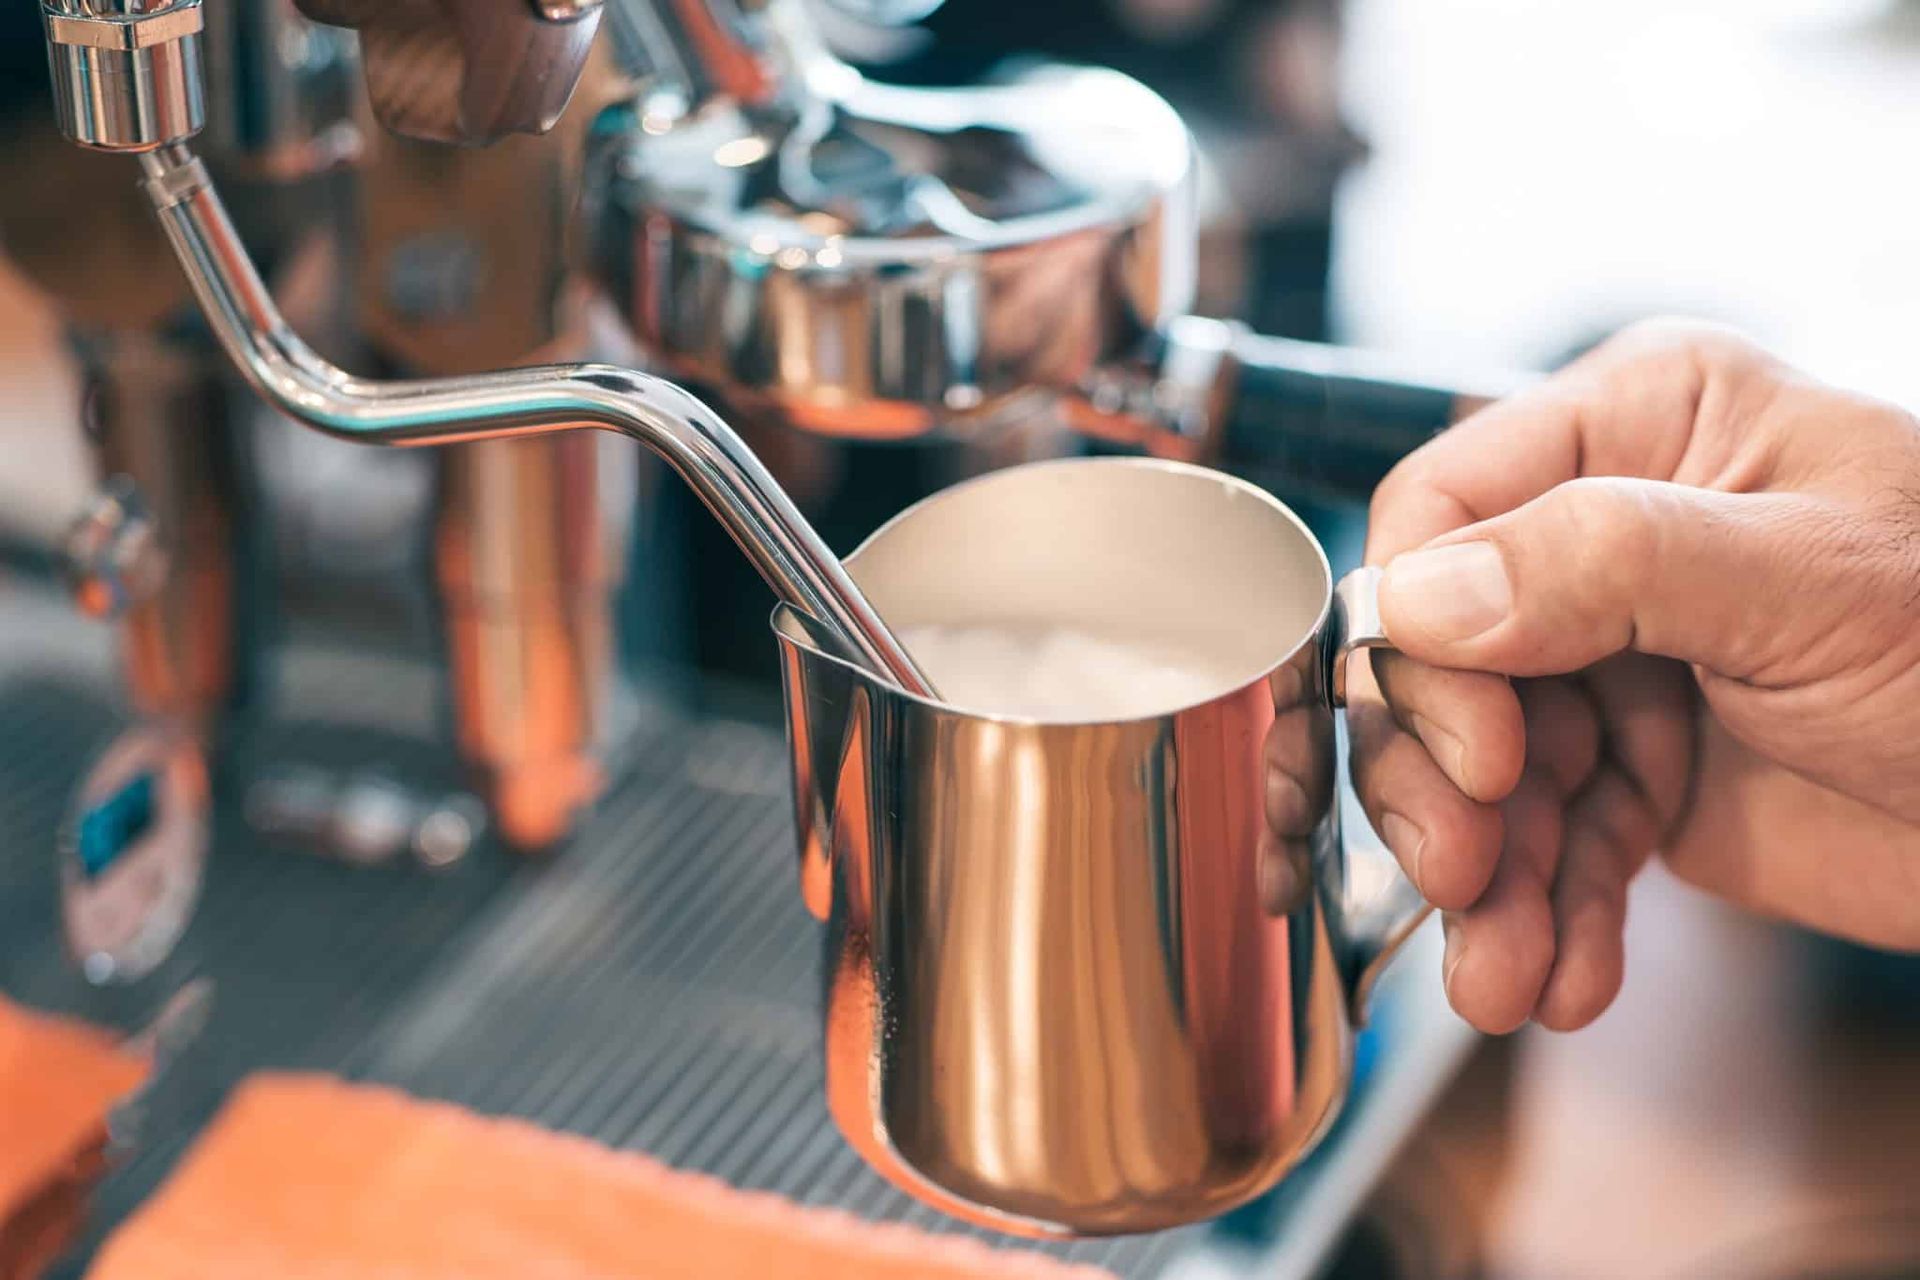
The art of steaming milk is tricky, but worth the dedication required to learn. Keep a close eye on all the small details, and with practice you can become a true pro. Steaming milk can be difficult, and takes around 4 minutes to do. What You Need Milk Espresso Machine with a steamwand Pitcher Cloth Directions Pour Milk : To start, pour milk into your pitcher till it’s about half full. You will need the extra room to properly steam your milk and achieve fantastic foam. Steaming Your Milk : Before starting the steaming process, be sure to give a quick pull on the handle to bleed the steam wand. This removes any water from the wand. Once you’ve done this, submerge the wand in the milk and begin to steam. Slowly lower the pitcher so just the tip is submerged. Small microfoam will begin to form and the milk will expand. Do this slowly so that no large bubbles are created. The milk should swirl like a whirlpool and incorporate the microfoam into the pitcher of milk. Slowly continue to draw the pitcher down until you have your desired amount of foam. Now you can move the wand completely under the surface of the milk (but not touching the bottom of the pitcher) and hold steady. Achieving Optimum Temperature : We recommend the use of a thermometer to make sure your milk is the perfect temperature of 160 degrees. To achieve this optimum temperature steam your milk until your thermometer reaches 150 degrees, then shut off the steamwand. The milk will continue to heat a few more degrees once you shut off the steam, hitting the desired temperature of 160 degrees. Finish : Remove the pitcher from the wand, bleed the steamer once more, and wipe clean with a damp towel. This clears away any milk residue that may be left behind, so your machine will always steam properly and stay completely clean inside.

Espresso was invented as a way to make coffee expressly, as people were in a hurry and didn’t have time to wait 10 minutes to brew their morning pot of coffee. However, over the years, espresso has become more about the taste than the speed. The rich, strong flavor is something that coffee drinkers around the world look forward to every morning. Espresso is a tricky brewing method and takes roughly 4 minutes to complete. What You Need Coffee Espresso Machine Portafilter Cloth Directions Grounds : Grind your coffee on a fine grind – #1 on an industrial grinder. For a double shot, you’ll want 15 grams of coffee, which is equal to a smidge less than 2 tablespoons. Adding Grounds : Put the grounds into the portafilter so it forms a little mound on the top. Grab your tamper and press down firmly. Remove the tamper and use the handle to give the side of the filter a quick tap to remove excess grounds, then press again. Give it a quick twist before you remove it so the top is nice and smooth. Pulling Shots : Insert the portafilter into the machine, making sure that it’s fully locked into its proper position. Place shot glasses or a mug below to catch the shot. Press the button and watch as the shot begins to pour. The best shots take anywhere between 25-33 seconds from pushing the button to finish. Machine Care : Once you’ve pulled your shot, make sure you properly care for your machine and equipment. Carefully take the portafilter out, remove the used grounds, and give it a quick wipe down with a towel. You should also quickly run some water through the group head on your machine to rinse away any grounds that are stuck in the screen. Place the filter back into the machine for storage, and give your shot glasses a quick rinse. Bonus tip : If your shots are running too slow, try easing up on the tamping pressure. If they are too long, try tamping harder. If this doesn’t solve your problem, try adding slightly less grounds to the portafilter for a faster pour and adding slightly more for a longer pour. These adjustments will greatly affect the taste of your shots! Enjoy! - Whether you made a latte, americano, or some other fabulous espresso drink, enjoy sipping Camano Island Coffee Roasters – you’ve earned it.
